One of the most powerful moments in the walll.art process is seeing an artwork proposal visualized on your home's wall for the first time — at true scale, among the familiar furniture. But the quality of that visualization depends on one simple thing: the wall photo you uploaded. A good photo turns every proposal into an easy decision; a cropped, crooked, or dark one leaves you guessing.
The good news: no photographer and no equipment required. Any smartphone from the past five years shoots exactly what's needed — you just have to know when, from where, and how. Here's the full guide, step by step.
When to Shoot: Light Decides Everything
Shoot in natural daylight, at hours when the room is well lit but the sun doesn't hit the wall directly — usually mid-morning or early afternoon. Turn off artificial lighting if it's very yellow (it tints the wall), or leave it on if that's how the room looks most of the time. The principle: photograph the room as it looks during the hours you actually live in it. And never — never — use flash; it flattens the space and creates a blob of light in the middle of the wall.
Where to Shoot From: Straight On, Centered, at Chest Height
- Stand facing the center of the wall, not at an angle. An angled shot distorts the proportions and the visualization will lie to you.
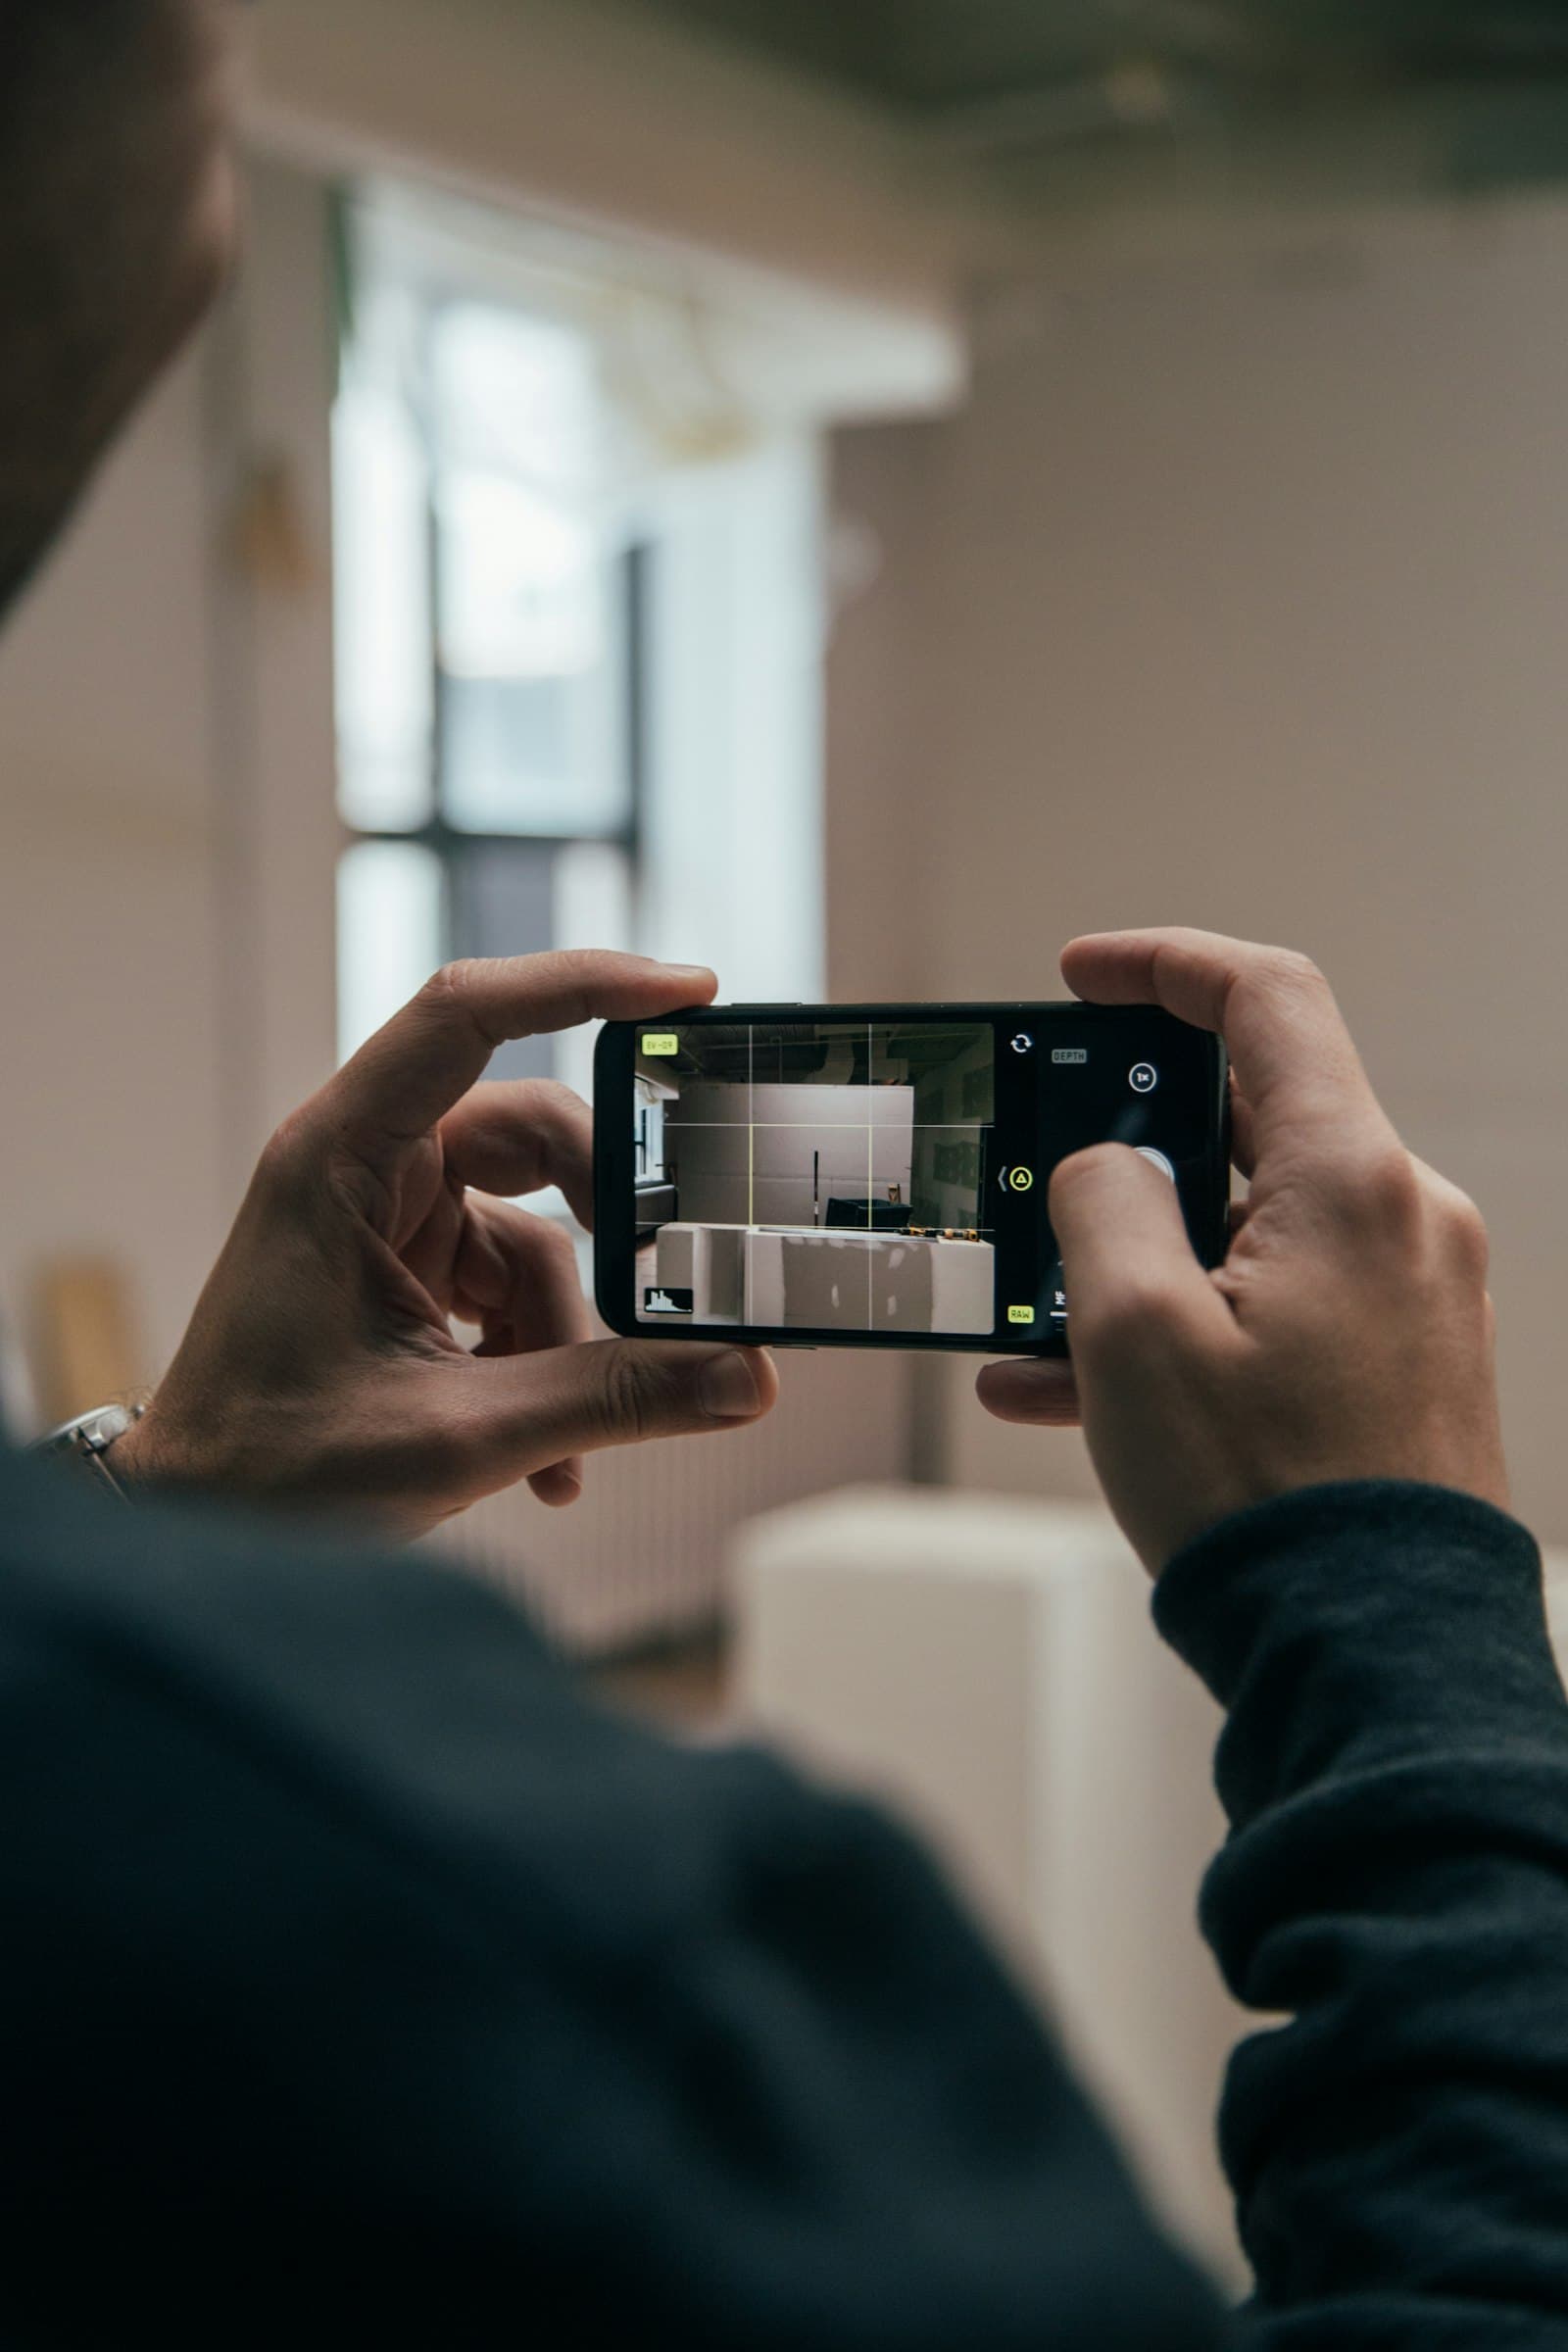
- Hold the phone at chest height, perfectly straight and vertical — not tilted up or down. Most phones have a built-in level; use it.
- Step back far enough to capture the entire wall plus a bit of context: the furniture below, a strip of floor, the edge of the ceiling.
- Don't use the wide lens (0.5x) — it bends straight lines at the edges. Standard lens (1x) only.
What to Keep in the Frame and What to Move
Keep the permanent furniture: sofa, bed, dresser — they give the visualization a sense of scale and give artists context of color and style. Move only the temporary noise: laundry, toys, cables, bottles on the table. The goal isn't a home staged for real-estate photography, but a readable wall with its real context. If an old picture currently hangs on the wall — take it down before shooting, so the visualization works on a clean wall.
The Measurement That Makes the Visualization Precise
For the visualization to show the artwork at the correct relative size, the system needs one measurement anchor. Measure the width of the wall, or at least the width of the main piece of furniture in the photo (the sofa's width, for instance), and note the number in the brief. Thirty seconds with a tape measure — and every proposal you receive will appear on the wall in true proportion, not an estimated one.
A good wall photo isn't a beautiful photo. It's a faithful one — straight, well lit, and measurable.
A Ten-Second Check Before Uploading
Open the photo full-screen and ask three questions: Are the ceiling and floor lines straight, not falling to one side? Can you see the entire wall area intended for the artwork plus some context around it? Are the colors in the photo close to what you see with your eyes? Three yeses — the photo is ready. If something feels off, a retake costs less than a minute and is worth every second.
That's it. Five minutes of preparation, and your brief is equipped with the foundation that makes every later stage more precise: the artists understand the space, the visualizations are faithful to reality, and your choice is based on what will actually be — not on imagination.
Questions & answers — Guides
What is the best time of day to photograph the wall?
In natural daylight, when the room is well lit but without direct sun on the wall — usually mid-morning or early afternoon. If you mostly use the room in the evening under lamplight, you can shoot that way too, since that's the space's true look.
Do I need a professional camera to photograph the wall?
Not at all. Any smartphone from recent years is more than enough. What matters is technique: standing straight in front of the wall's center, phone vertical at chest height, standard lens, and no flash.
How much of the room should be in the photo?
The entire wall plus a bit of context: the furniture below, a strip of floor, and the ceiling's edge. The context gives the visualization scale and gives artists information about colors and style. Avoid an overly tight shot that shows nothing but plaster.
Why is it important to note measurements with the photo?
So the visualization can show every proposal at its true relative size on the wall. One anchor is enough — the wall's width or the sofa's width — and all proposals will appear in precise proportion instead of an estimate.
What if a picture already hangs on the wall?
Take it down before shooting. Visualization works best on a clean wall, and an existing picture in the frame confuses both the rendering and the artists reading the brief.
Does shooting at an angle ruin the photo?
It doesn't disqualify it, but it does hurt: an angle distorts the proportions and the visualization will present the artwork unfaithfully. A straight shot facing the wall's center is always better — a one-minute difference that changes the quality of the entire choice.